So what’s a Turtle Ship?
I don’t know….but it’s good! It took a while to get in and after putting some miles on it, I can say that it really is a good mod. It’s no mystery that I am a huge Nemesis clone fan. Not even for the price but just in itself, it delivers well beyond expectations, when you factor the price in as well, you can forget about it. It is one of the most, if not the actual most versatile device out there. Anything will fit on it without a rattle. You can check out the overview on that here! That being said, when it came to the Ship I was curious how it was going to perform when compared to the Nemesis and while I haven’t spent as much time with it as I have spent with the Nemesis, I can say that so far it’s not a bad one save for one quirk that can be easily fixed (and we’ll tell you how later). I find myself using it more than the Nemesis because it’s just something a little different and a break from the brass I’m so used to.
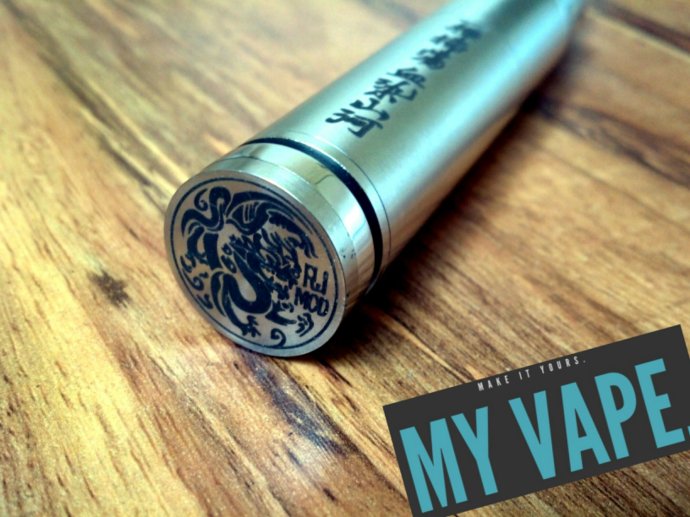
Looks wise, it’s stellar. Stainless construction with a nice brushed finish. Looks great with just about any atty on top and just feels nice to use. The engravings a deep and ridged and you can feel them in hand when you’re holding it. It give it the feel of a much more expensive device. Even though it is locked in this picture, it does not fire when set down unlocked. I usually lock it if I’m going to step away from it for a while or if it’s in my pocket but it is nice to not have to lock it if it’s just sitting on the table in front of you.
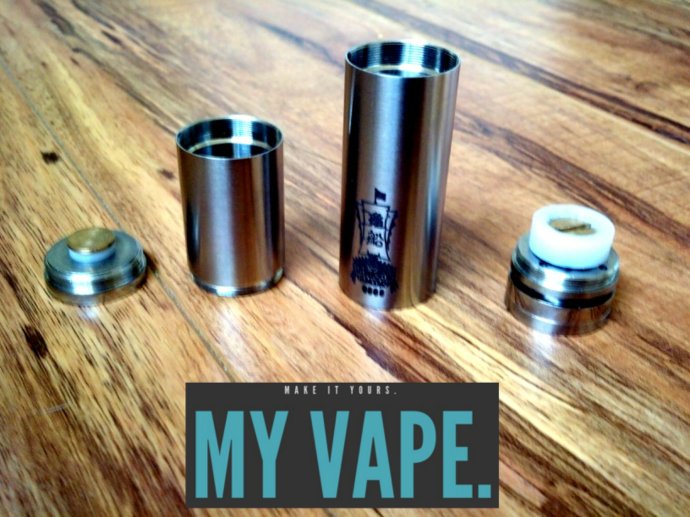
You get the standard fare 3 body tubes with this one. If you haven’t figured it out already, this a segmented mod and does not telescope. Some people prefer a telescoping device because you can unscrew it or screw it down to accommodate just about any combination of atomizers and batteries. It’s very versatile because you can change batteries without having to bring tubes with you. Personally, I don’t like that style of device and that’s partly because of the way I vape. I only use 18650 batteries and do not need to worry making my devices fit anything but that. I also just prefer the cleaner lines and designs of segmented mods. So with this mod, you get your main body tube which has the logo and a quote. There’s a few different renditions of what that quote actually is but the most common and my personal favorite is “Live to Die, Die to Live”. You also get two additional body tubes that will allow you to use 18490s’s and a kick although the kick ring is not pictured here. The threading on this is very good. That’s a common concern for people and a lot of the times will define how well the item is perceived in overall quality and this one has no issues in that department.
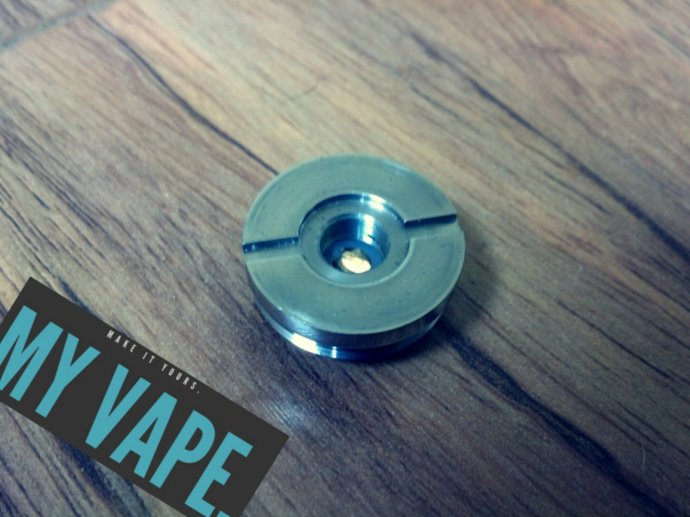
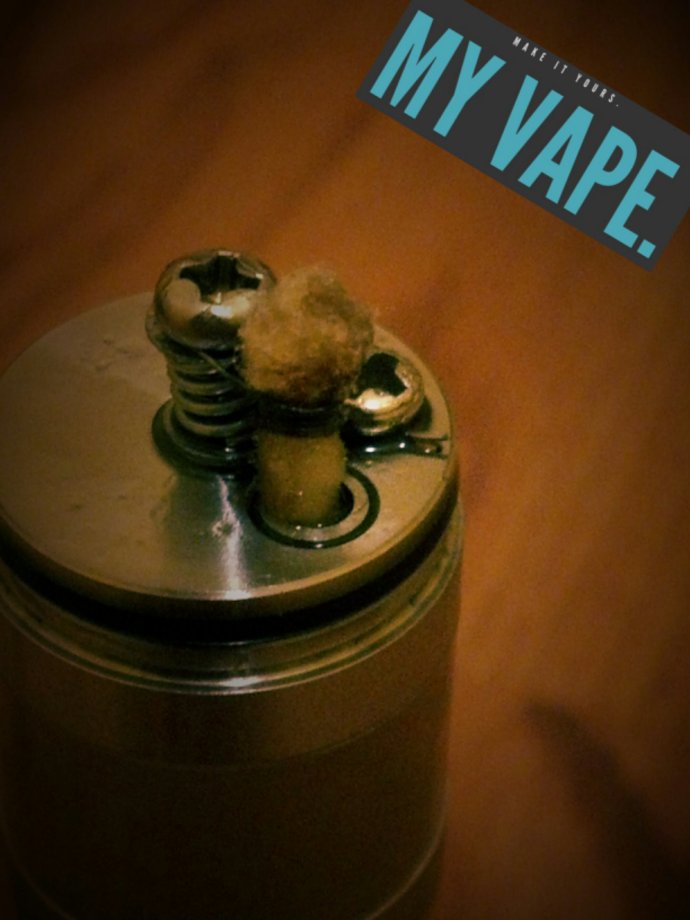
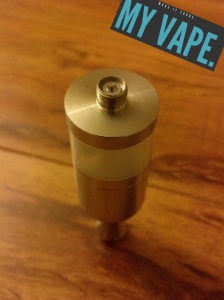
The top cap is very functional and looks good on its own. It has air paths on top which will allow you to use an atomizer that needs its airflow from the device. Most people will use this with a dripper or a Kayfun style atty which all get their airflow from themselves but it is nice to have that option if you should ever need to take advantage of it. The top pin is floating on this guy. The floating pin thing can be a little confusing sometimes and until you use one, you might not fully get how it works. It’s not threaded and it’s not spring loaded. What it is, is press fit into the Delrin insulator and can be moved up and down by pushing and pulling. To properly fit an atty flush, you push the pin all the way in and start screwing on your device. As you screw down your atty, it will simply push the pin down until it is flush…now you’re ready to go.
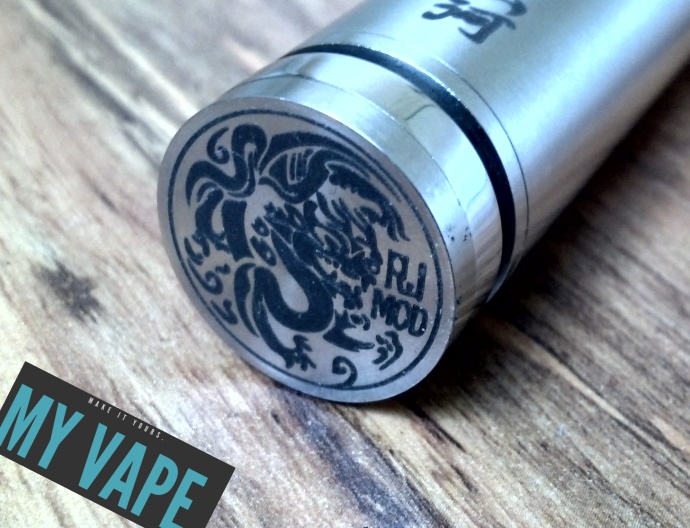
If you look into this mod at all, you’ll more than likely see or hear something about the engravings and we touched on them a little before. They really are well done. Sure, they’re not as good as an original but for a clone they’re exceptional. They’re deep and they’re dark and you can feel them as you use the device. The contrast between the dark engravings and the clean stainless is really what sets these mods off aesthetically. The button engravings are definitely the standouts. One of the best I have seen…
This is a tough one to do….the switch is bittersweet on this. It looks great and the action on it is very good. I like the external plunger design is nice and reminiscent of the Caravela design. If this switch could be adjusted like the Nemesis switch but look the way it does…if someone can make that design happen, I would be a buyer. For all I know, there may already be something like that out there that I’ve missed and if so, please let me know! The plunger and the contact pin screw together through the main body of the switch which allows the plunger to spin freely letting you turn it with the locking ring making it easier to operate. The locking ring is not reverse threaded on this guy.
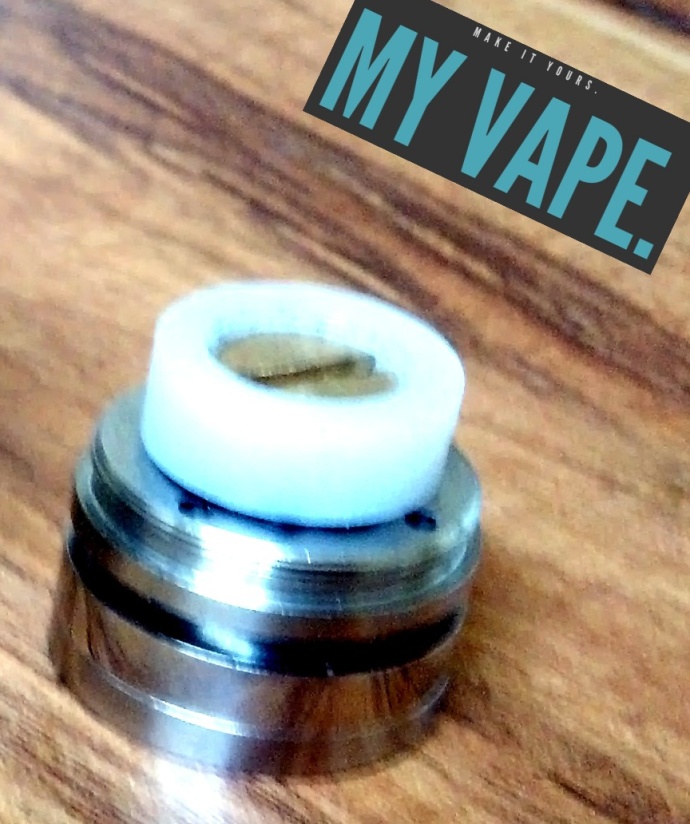
The one and really the only issue with this device is that white Delrin insulator. That same piece is used to adjust for gaps. It screws up and down on a threaded lip that comes up from the main body. The problem is that it is threaded too loosely. So if you set up your Delrin to the the proper height to not have a battery gap, when you go to screw the rest of the device together the Delrin will spin with the battery that is sitting on top of it and your adjustment goes away resulting in a constant battery rattle. The device will still work with a rattle and some people really don’t mind. I’m not very particular myself. I don’t sweat the small stuff but I cannot stand a battery rattle. It will be a deal breaker.
So how do you fix it? Easily, and with something you probably already have laying around.
Grab an o-ring, I used one of the spares that came with my Igo-W. Take the Delrin off and double the o-ring over itself then stick in around the threaded lip on the switch body that you screw the Delrin on to. Screw the Delrin back on. You will have to use pliers to grab the Delrin and tighten it down. Careful when stretching the doubled up ring to not snap it. Once you’re done, the Delrin will no longer move with the battery and will sit high enough to kill the rattle. You can’t even tell it’s there. Turned this mod from meh to awesome.
So all in, it’s a killer device. If you’re considering it, you won’t be making a mistake. I almost forgot….the part that everyone wants to hear, how does it hit? It’s a strong hitter, no worries whatsoever in that department. Most people know how well the Nemesis fires and this is right up there with it. If you like the Nemesis, you’ll like this. It has just enough changes to differentiate itself as its own device but similar enough to where it’ll be familiar to enjoy.
You can pick it up from Fasttech here as well check out some other reviews from other owners.

