Nemesis Bottom Switch Touch Fire Mod – A Quick My Vape Guide

image

By request, here is the quick and easy method to modding the Nemesis switch. What this aims to do is reduce the throw to where it is essentially a touch fire. The pressure needed to fire will be almost gone. Please note that this will make your device fire when setting it down unlocked. If that’s a thing for you, then this is not for you. Also note that your device should not have a kick or be using the slim beauty ring. Just your main body tube and 650 extension.

All you’re going to need to do it is one of the silicone condoms that your cartos used to come in. I have a bunch of these around from when I bought a pack of cartos and realized that carto tanks are a pain and st that point in my vaping I preferred clearos. Anyway, if you don’t have one of there check with your local B&M chances are they just throw these away after building setups for new customers.

When you’re done, your pin should look like this:

image

Don’t mind the dirt, this has some use on it. So here’s what you do:

1. Take your carto condom and using a pair of scissors, cut the closed end off.

2. Now you should have a round-ish piece of silicone. Use you scissors to try and trim down as flat as possible.

3. Take something pointy and make a hole in the middle of this piece. You can use whatever, I used a wine cork. The holes doesn’t have to be huge, just had to be there.

4. Take the bottom pin out of the switch…careful not to lose the tiny pin in there that keeps the button from spinning. Be careful when you unscrew your pin to make sure it doesn’t shoot out.

5. Take your silicone and stretch it out over the bottom firing pin and work it down to the bottom. You can use your scissors to trim any excess silicone that pokes out on the sides of the pin.

6. Now screw the pin back on as far down as it will go. You don’t have to gorilla tighten it down but enough to where it’s in there.

7. Reassemble.

….that’s is! Quick and easy and not permanent. If it’s not your style, you can remove it. All you’re doing is sandwiching a piece of silicone between the pin and switch body.

Turtle Ship V2 Clone (Fasttech) Review!

image

So what’s a Turtle Ship?

I don’t know….but it’s good! It took a while to get in and after putting some miles on it, I can say that it really is a good mod. It’s no mystery that I am a huge Nemesis clone fan. Not even for the price but just in itself, it delivers well beyond expectations, when you factor the price in as well, you can forget about it. It is one of the most, if not the actual most versatile device out there. Anything will fit on it without a rattle. You can check out the overview on that here! That being said, when it came to the Ship I was curious how it was going to perform when compared to the Nemesis and while I haven’t spent  as much time with it as I have spent with the Nemesis, I can say that so far it’s not a bad one save for one quirk that can be easily fixed (and we’ll tell you how later). I find myself using it more than the Nemesis because it’s just something a little different and a break from the brass I’m so used to.

image

Looks wise, it’s stellar. Stainless construction with a nice brushed finish. Looks great with just about any atty on top and just feels nice to use. The engravings a deep and ridged and you can feel them in hand when you’re holding it. It give it the feel of a much more expensive device. Even though it is locked in this picture, it does not fire when set down unlocked. I usually lock it if I’m going to step away from it for a while or if it’s in my pocket but it is nice to not have to lock it if it’s just sitting on the table in front of you.

image

You get the standard fare 3 body tubes with this one. If you haven’t figured it out already, this a segmented mod and does not telescope. Some people prefer a telescoping device because you can unscrew it or screw it down to accommodate just about any combination of atomizers and batteries. It’s very versatile because you can change batteries without having to bring tubes with you. Personally, I don’t like that style of device and that’s partly because of the way I vape. I only use 18650 batteries and do not need to worry making my devices fit anything but that. I also just prefer the cleaner lines and designs of segmented mods. So with this mod, you get your main body tube which has the logo and a quote. There’s a few different renditions of what that quote actually is but the most common and my personal favorite is “Live to Die, Die to Live”. You also get two additional body tubes that will allow you to use 18490s’s and a kick although the kick ring is not pictured here. The threading on this is very good. That’s a common concern for people and a lot of the times will define how well the item is perceived in overall quality and this one has no issues in that department.

image

The top cap is very functional and looks good on its own. It has air paths on top which will allow you to use an atomizer that needs its airflow from the device. Most people will use this with a dripper or a Kayfun style atty which all get their airflow from themselves but it is nice to have that option if you should ever need to take advantage of it. The top pin is floating on this guy. The floating pin thing can be a little confusing sometimes and until you use one, you might not fully get how it works. It’s not threaded and it’s not spring loaded. What it is, is press fit into the Delrin insulator and can be moved up and down by pushing and pulling. To properly fit an atty flush, you push the pin all the way in and start screwing on your device. As you screw down your atty, it will simply push the pin down until it is  flush…now you’re ready to go.

image

If you look into this mod at all, you’ll more than likely see or hear something about the engravings and we touched on them a little before. They really are well done. Sure, they’re not as good as an original but for a clone they’re exceptional. They’re deep and they’re dark and you can feel them as you use the device.  The contrast between the dark engravings and the clean stainless is really what sets these mods off aesthetically. The button engravings are definitely the standouts. One of the best I have seen…

image

This is a tough one to do….the switch is bittersweet on this. It looks great and the action on it is very good. I like the external plunger design is nice and reminiscent of the Caravela design. If this switch could be adjusted like the Nemesis switch but look the way it does…if someone can make that design happen, I would be a buyer. For all I know, there may already be something like that out there that I’ve missed and if so, please let me know! The plunger and the contact pin screw together through the main body of the switch which allows the plunger to spin freely letting you turn it with the locking ring making it easier to operate. The locking ring is not reverse threaded on this guy.

image

The one and really the only issue with this device is that white Delrin insulator. That same piece is used to adjust for gaps. It screws up and down on a threaded lip that comes up from the main body. The problem is that it is threaded too loosely. So if you set up your Delrin to the the proper height to not have a battery gap, when you go to screw the rest of the device together the Delrin will spin with the battery that is sitting on top of it and your adjustment goes away resulting in a constant battery rattle. The device will still work with a rattle and some people really don’t mind. I’m not very particular myself. I don’t sweat the small stuff but I cannot stand a battery rattle. It will be a deal breaker.

So how do you fix it? Easily, and with something you probably already have laying around.

Grab an o-ring, I used one of the spares that came with my Igo-W. Take the Delrin off and double the o-ring over itself then stick in around the threaded lip on the switch body that you screw the Delrin on to. Screw the Delrin back on. You will have to use pliers to grab the Delrin and tighten it down. Careful when stretching the doubled up ring to not snap it. Once you’re done, the Delrin will no longer move with the battery and will sit high enough to kill the rattle. You can’t even tell it’s there. Turned this mod from meh to awesome.

So all in, it’s a killer device. If you’re considering it, you won’t be making a mistake. I almost forgot….the part that everyone wants to hear, how does it hit? It’s a strong hitter, no worries whatsoever in that department. Most people know how well the Nemesis fires and this is right up there with it. If you like the Nemesis, you’ll like this. It has just enough changes to differentiate itself as its own device but similar enough to where it’ll be familiar to enjoy.

You can pick it up from Fasttech here as well check out some other reviews from other owners.

Checking Your Battery Voltage And Resistance Values Using A Multimeter…A My Vape Guide.

image

Three of the most frequently asked questions around are:

-What do I use a multimeter for?

-Should I get one?

-How do I use it to check my resistance and voltage?

So right now, we’re going to tackle all three of those. Now, when you first get into vaping and hear all about things like this it might be intimidating and somewhat prohibitive. Everyone seems to have this mentality that everything is just going to blow up on you. Like it was mentioned before….I get it, safety is a concern, I agree but you should never let it stop you from what you want to do or worse…take the fun out of it. Vaping is easy and fun and if you want to get extreme with it, you can. All you need to do is keep a few simple rules in mind and you’ll be fine and if you don’t know anything about how electricity works, don’t worry. A lot of people don’t and we can all still manage to vape well. You don’t need a degree, you just need to know what pertains to what you are trying to do.

Now all the information you’re about to learn how to gather isn’t going to help you unless you know how to use it. So before you get any further, you should really browse over The Simple Way To Not Blow A Hole In Your Face My Vape Guide. Once you’ve done that, continue reading this guide and you’ll (hopefully) have a grasp of the basics. If you want to go sub ohm, both of these will show you how to do it without going “boom”.

Ok, so what’s a multimeter used for? It’s used to measure your battery voltage and coil resistance. You can use these measures to plug in the calculator mentioned the above guide to know where about you need to be to keep everything in one piece. If you’re using a regulated or protected device, you don’t have much to worry about. It will not let you fire anything below it’s safety threshold…but, what if you want to push that threshold? What if you decide you want a mechanical mod that has no screens and settings, it’s just the power of the battery and your coil? Then to answer the second question, yes. You do need a multimeter.

I cannot stress enough how this information will be useless to you unless you know what to do with it, so we’ll post the The Simple Way To Not Blow A Hole In Your Face My Vape Guide that along with the calculator in it should be used in conjunction with this guide.

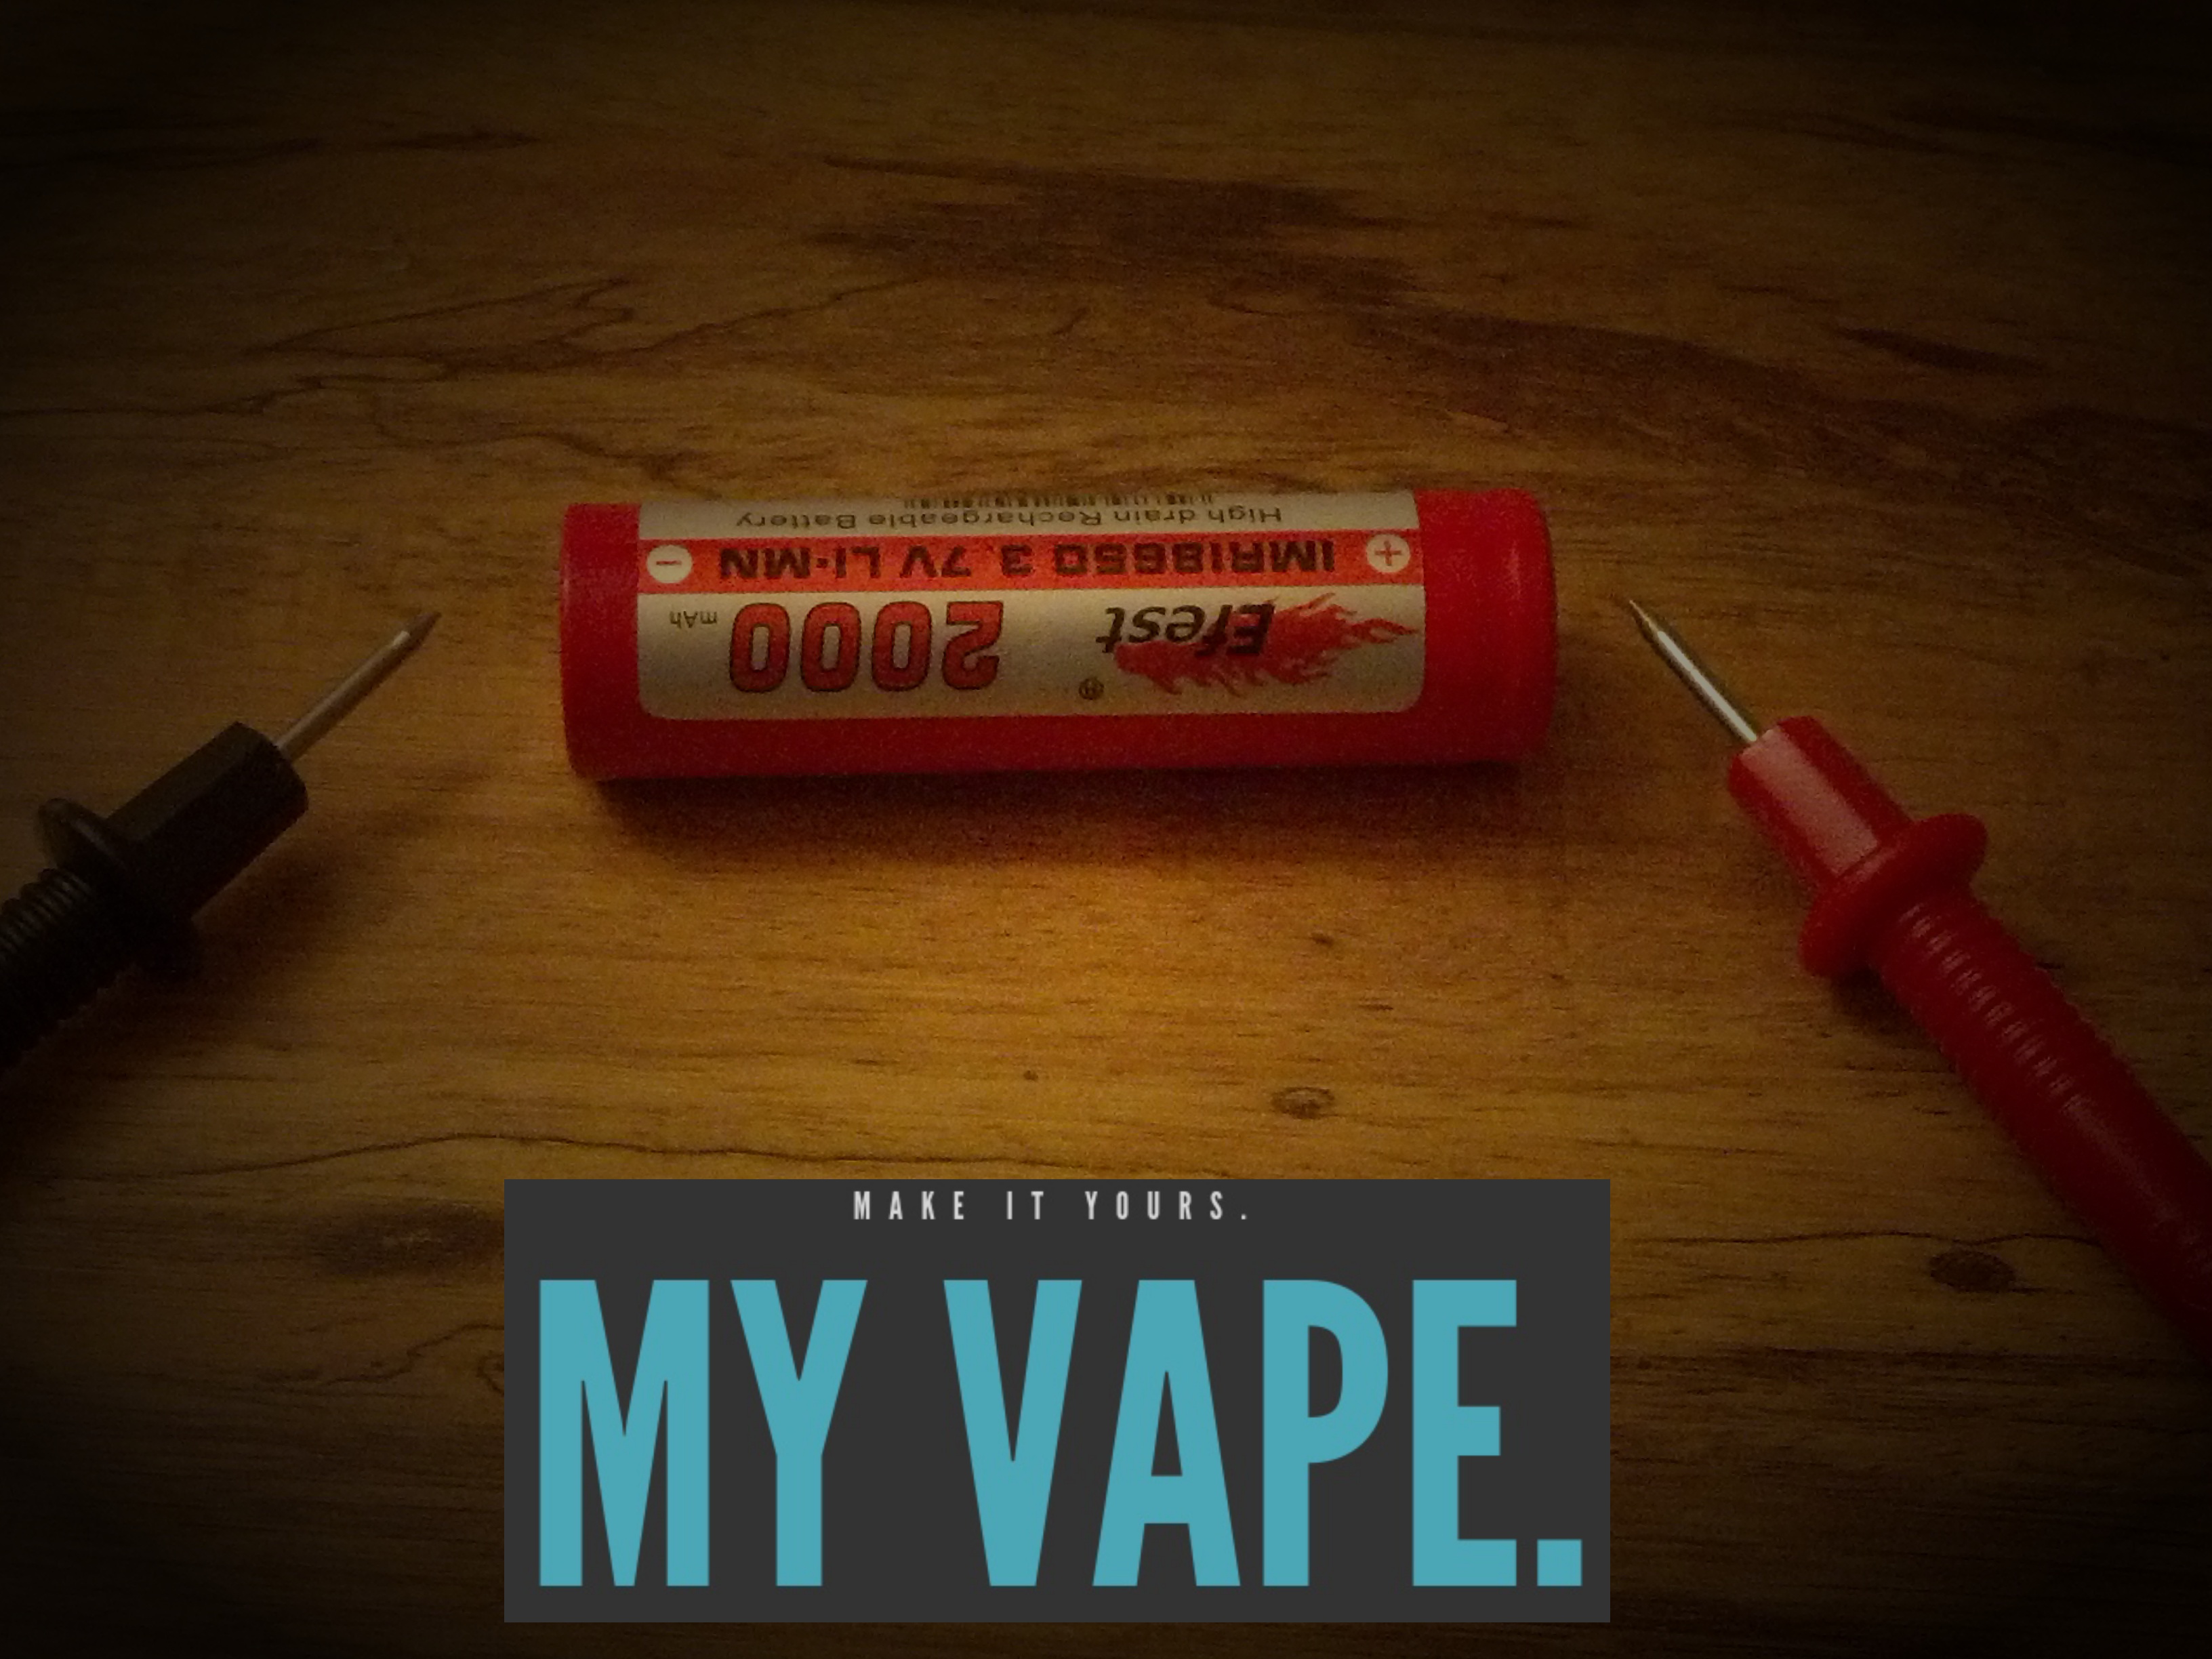
…now on to the third question, how do I use one of these things to check my voltage and coil resistance? Remember that everything here has a positive and a negative end. On a multimeter the positive lead is going to always be red and the negative will be black.

image

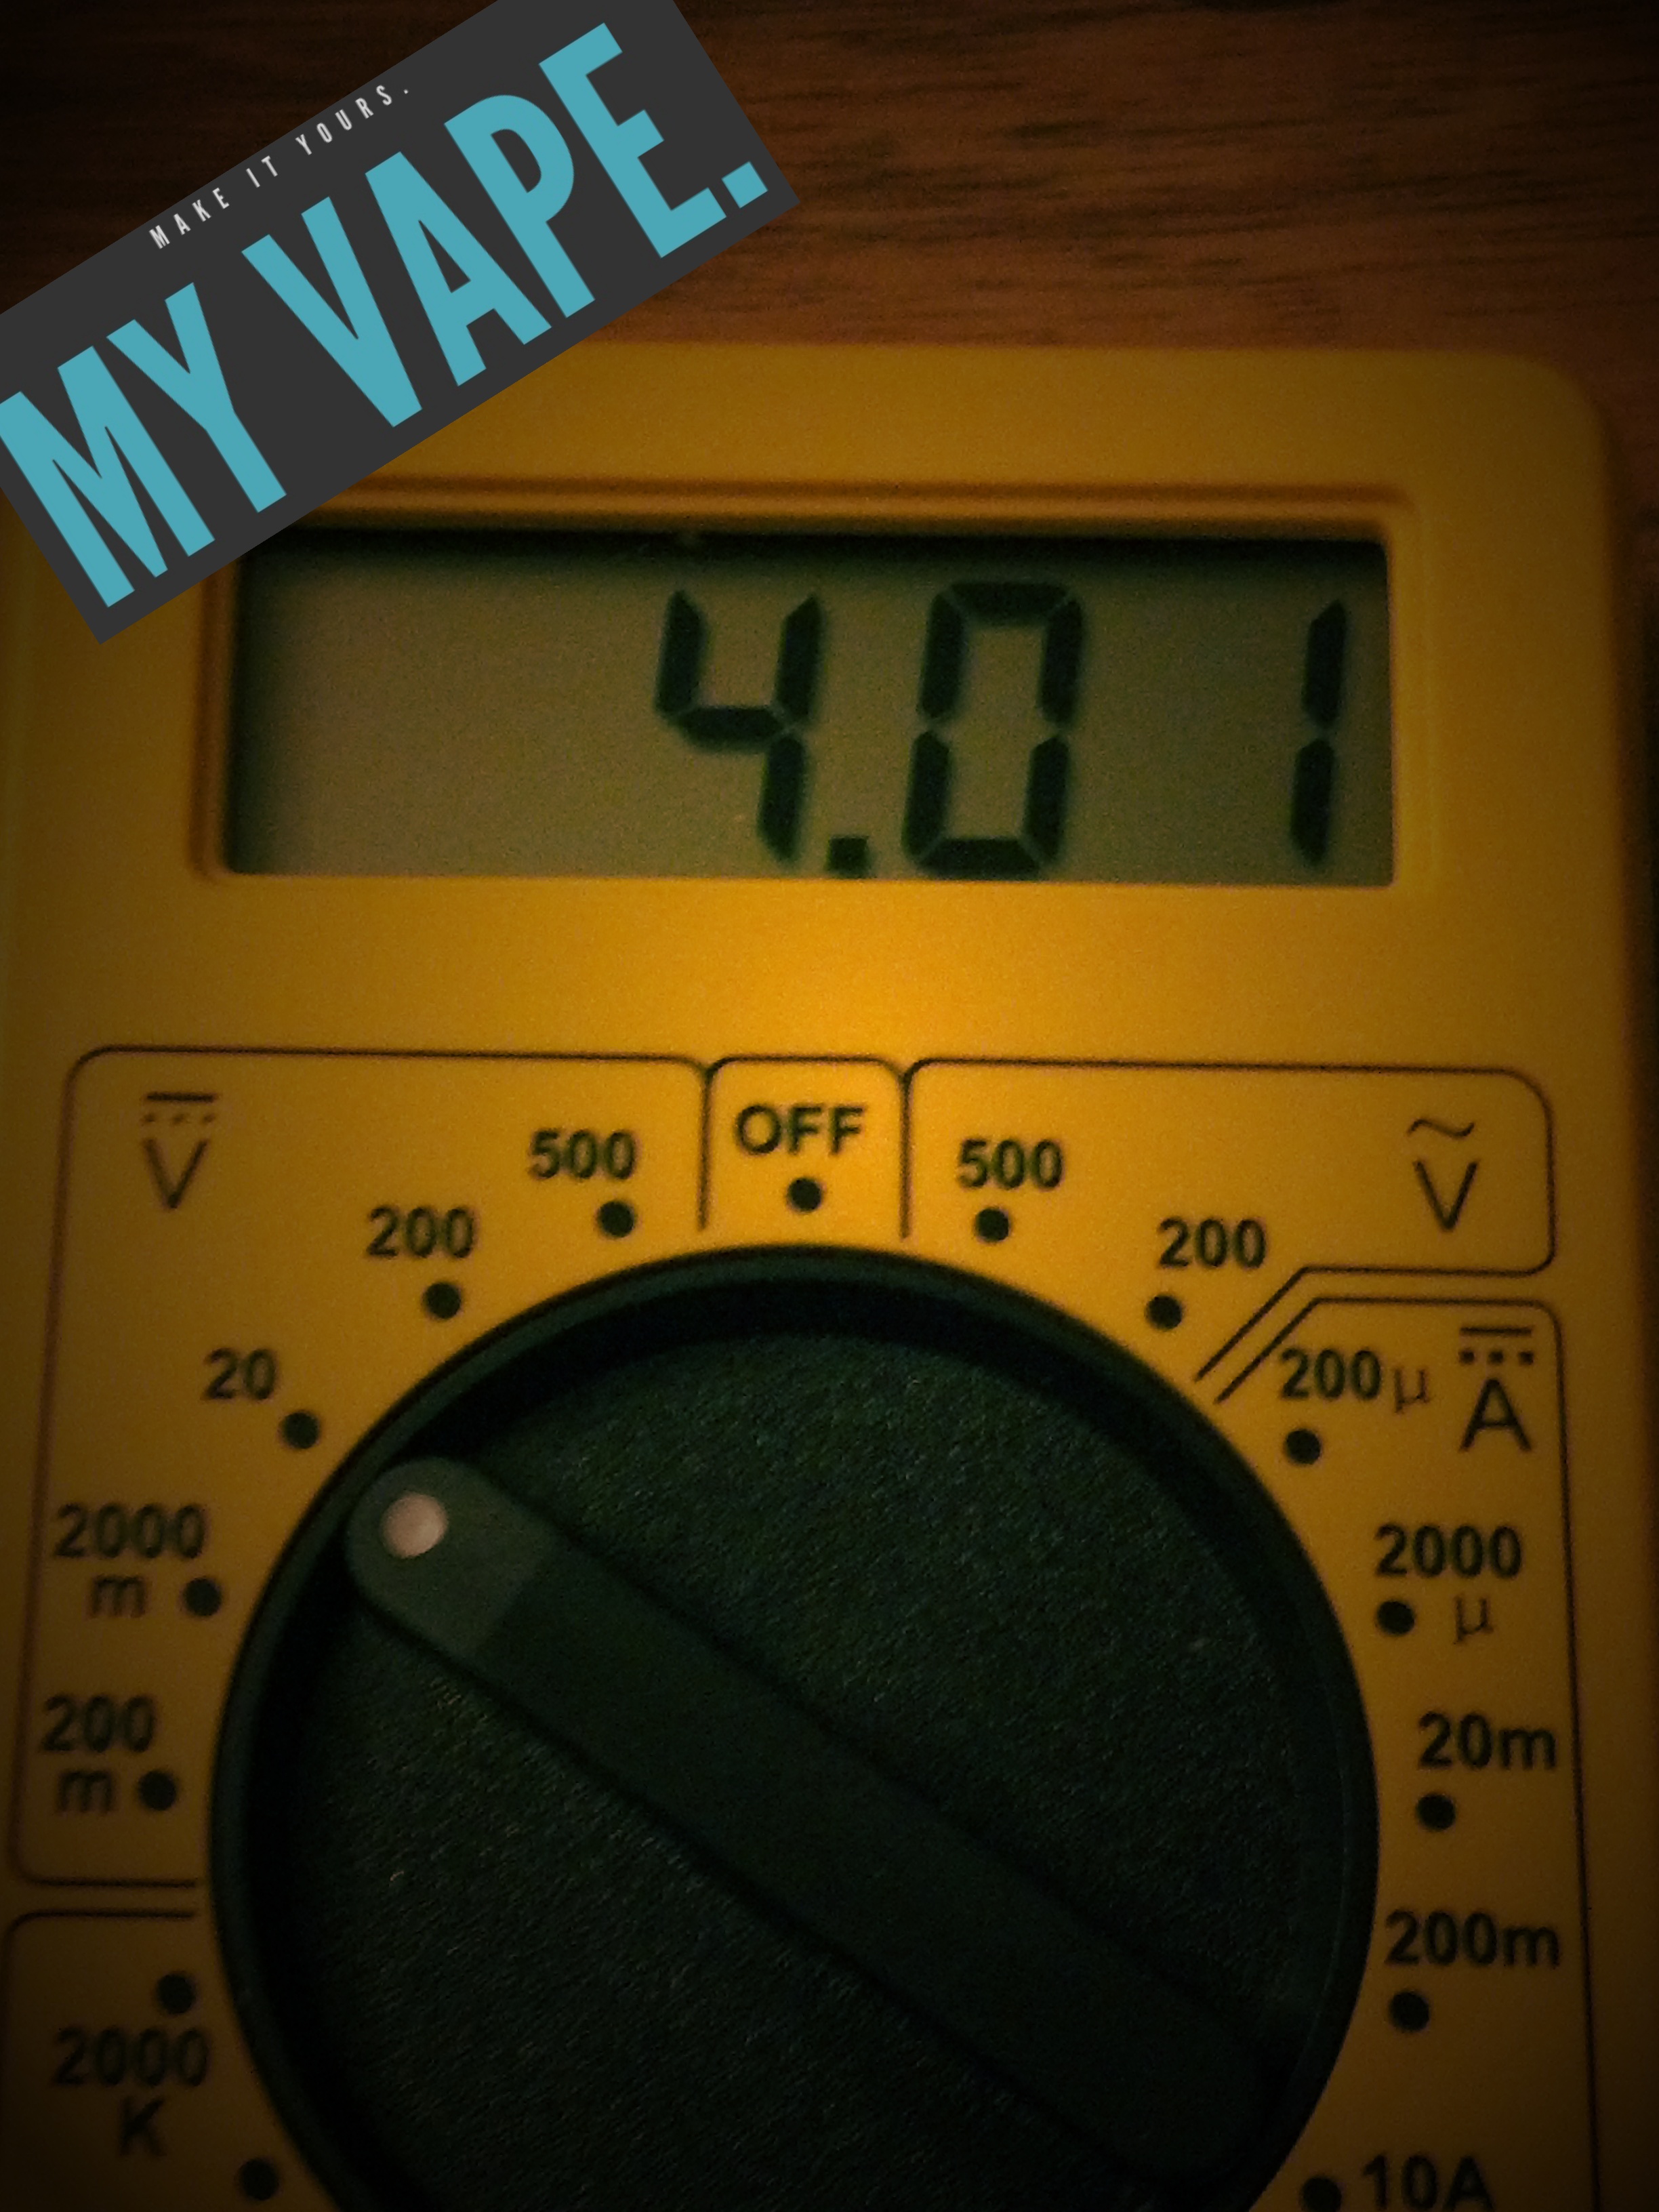
What you’re going to want to do is set your meter in voltage mode. Notice the position on the dial. We’ll keep it on the lower setting since we’ll be measuring relatively small numbers here. Not the dial position.

image

So now what we’re going to do is touch those red (positive) and black (negative) leads to the corresponding terminals on the battery. Each battery has a positive and negative end which has to be touched with the appropriate terminal to get a measurement. Most batteries are going to be marked.

image

If yours doesn’t, it’s pretty easy to figure which is which. Your positive is going to look something like this…

image

…and your negative will generally be pretty flat, like this…

image

So what you’re going to want to do is touch the appropriate leads to the appropriate terminals, like this…

IMG_20140113_194419

…and you’ll get your reading…

IMG_20140113_195138

That wasn’t too bad was it? Once your battery gets to around 3.6V you might want to swap it for a fresh one. On a mechanical device, this is the only way to check your remaining battery. Unlike a regulated mod that has a circuit board integrated and will do this for you, you have nothing other than the battery inside your mech. So does that mean that you have to carry around a multimeter everywhere you take your device to check your battery level? No, that would be a pain. What you’re going to want to do is when you first get your device, use it at home for a couple of days and check it regularly. With a mechanical mod, as your battery decreases, your vape quality will dimish as well. Use this drop in vape quality for a rough estimate as to where your battery level is. It’s not a bad idea to carry an extra battery with you if you’re going to be out and about for a while…like for instance, if you’re not planning on coming home that night. Make sure you keep that battery in it’s own pocket. You do not want your keyes or anything else in your pocket making contact between the two terminals and causing a short. The small “coin pocket” inside your pocket on your jeans is a great spot for a spare battery.

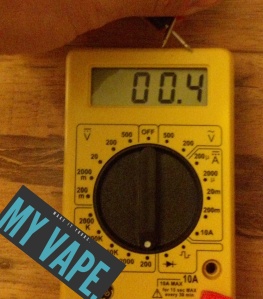
So now that we know our battery voltage, we just need to find out the resistance of our coil. You can do this is a number of ways. You can use a resistance checker machine, a regulated mod that has a built in resistance checker, or in this case, a multimeter. So we’re going to set our meter in Ohm mode. Once again, note the dial setting and it’s going to be on the low spot since we’re not dealing with big numbers here at all. Once you have it set properly, you’re going to want to touch the leads together and read that measurement. The device itself has its own resistance and you’re going to want to subtract this from the resistance you get out of your coil. Like this…

IMG_20140113_194818

The same principle of positive and negative from before applies to your atomizer as well. In this case (RSST), the tall post is the positive and the small screw is the negative terminal.

IMG_20140113_194914

So you’re going to want to hold your respective leads to the appropriate post to measure the resistance of your coil. …

IMG_20140113_194235

..in this case, we get a reading of 1.6 ohms…

IMG_20140113_194709

but remember to subtract the resistance of the device, which we saw above was .4, leaving us with a total resistance of 1.2 ohms.

That’s all there is to the measuring. There are slight variances between devices but the idea is the same. Now, remember again all this is useless unless you know what to do with these measurements so check out the calculator and guide here!


The Fasttech Nemesis Clone Overview!

IMG_20140108_223256

It’s here! The much talked about Fasttech Nemesis!

It just might be one of the most asked about clone out there and there are a few places to get them but FT generally is the most popular. HCigar also makes one…whether or not they are the same, I cannot speak for since I have not handled the HCigar piece. We’re going to do something a little different this time. Just about every review that you see of one of these things compares it to the original Nemesis. Understandably so but a lot of people have never used or handled a real Nemesis so when you hear things in reviews like “It feels just like an authentic Nemmy”….well that’s great but it’s not very useful to you if you’ve never dealt with the real thing. So what we’re going to do here is look at it like as a device in it’s own. We’ll pretend for a moment that it is not a clone or knockoff and just examine it for what it is.

image

We’ll get rolling here with a little bit about he build quality. Impressive. Best word to describe it. When you think clone or knockoff you instantly imagine a light, flimsy, cheap-y, thing…kind of what we have come to expect from Chinese replicas of anything. No the case here. The device feels solid. If feels good in your hand. You will notice this right when you take it out of the package even before dropping a battery in. It has some nice heft to it. With a battery in…you can probably hold up a 7-11 with it. That doesn’t necessarily mean it’s a heavy pocket dragger. It just means it has a good feel and build to it and proves that, that can be achieved without turning it into an anvil.

IMG_20140108_225055

You have four laser engravings on the device. The death angel on the front, the “Nemesis” script and serial number on the back (the serial is a random number and does not denote actual production) as well as the train on the bottom switch. All engravings look clean and crisp and I don’t imagine they will be wearing very easily. The device has 4 vent holes which are hidden behind the lock right. They can only be seen when the device is locked as it is pictured above.

IMG_20140108_223909

Threading is clean. Real clean. No crunchiness or squeaks. Everything flows together very well. Nothing really insane here, just nice smooth threading as you would expect from a quality device.

IMG_20140108_224949

….speaking of threads, this is what you’ll be getting to screw together. You have your airflow ring, your top cap, your 2 extension tubes, the main body, your kick ring extension, and we round it off with the bottom switch assembly. Let’s work out way down, we’ll start with the top cap…

IMG_20140108_225238

I have to say the design and look is very attractive…too bad you’ll always something on top covering it up but it is really nice. That center pin there is silver plated and fully adjustable. Between this and the adjustable bottom connection (which we’ll get to in a second), you will have no battery rattle issues at all. The very top ring here seen with the two snakebite holes is your airflow adjustment. There are two more holes behind and you rotate it to adjust. The two smaller dimples underneath are to help you gauge how open or closed your are. So you can use this with devices that sit flush and don’t have their own air supply.

IMG_20140108_223750

Why do Nemesis mods have a train on their switches?…..because it hits like a freight train (duhh) 🙂 The engraving is nice and looks good, not a whole lot to talk about here. The switch itself though….ehhhh….if I had to pick one thing to change it would be the switch.

It’s not terrible, don’t get me wrong. It works and functions and will fire your device just fine. You just kind of get this feeling that it is not up to the rest of the quality you see throughout the device. If you don’t hit it dead center it will crunch a little and grab the sides. It’ll still fire most of the time but the tactile feel just isn’t so smooth. It does bug a little bit but you might be able to get used to it. The good news is that you don’t have to! It is the easiest issue to fix. When you order thing, make sure to add on a few of the magnets available for the switch. If you don’t know what that is, what you do is get the magnets that are designed for it and insert them into the switch so they provide resistance against each other. What you’re doing is removing the spring. This alleviates the issue immediately. The side fire issue goes away as does the crunchiness of the press. It also takes away the worry of the spring eventually wearing out because you do not have this issue with the magnets. Keep in mind that you have to lock it whenever you set it down on the switch whether you are using the spring or magnets…it will fire if you don’t.

IMG_20140108_225352

All things considered….it is a stellar device and the price is exceptional. It is available in a few different finishes including brass (seen here), stainless, and mixed. A great looking, compact, and sleep device….and yes, the rumors are true. It does hit like a freight train. So the big question….would you order another? Just did! Signed up for the stainless for some mixed action. We’ll check that one out when it gets in.

Check out the Nemesis offerings at FT by clicking right HERE!

How To Improve Your Vape 10-Fold In Less Than 10 Minutes….(another) My Vape Guide.

image

Clearomizers and cartomizers are super easy to use and provide a great vape if set up right. If you’re just starting out you might quickly notice that you’re getting a little frustrated with the vape you’re getting out of your attached tank. Well you’re not alone. We felt the same thing and it was kind of a pain in the ass. We wanted that “free-er” draw that we were used to from our regular smokes and when the novelty of your new ecig wears off, you’re going to crave that….we did at least.

So you’ve heard of adjustable airflow devices but you don’t have one or want to get one. You don’t want to fuss with other devices, you just want to vape your tank and enjoy it right? We hear you, so we’re going to present you with the easiest way to improve your vape experience right at home without having to spend any money or do anything nutty.

All you have to do is tap out your air holes! Don’t worry, drilling is easy…at least this kind of drilling. First we’ll debunk all of the fear mongering you hear. Forums will tell you that you can drill through your hand if you do it improperly and you have to use a vice, and etc… Really? Do these people think you’re an invalid? Let me tell you something, if you drill through your hand doing anything, then you probably rode the short bus. This is not hard, so don’t be scared of if.

You don’t need a vice. Set your tank on the ground, counter, or garage work bench…whatever sturdy surface you have. This guide and picture are using a Kanger T3S/MT3S or EVOD but the same process applies to just about anything round you want to drill out. These clearos get their airflow from their base (the knurled part pictured above) and it comes stock with three small holes as seen in the insert photo. You may find these to be very restrictive and cause flooding if you draw too hard. What you’re going to want to do is drill them out. Now don’t go nuts and drill them all out, one is generally good enough. You may prefer a wider draw and want more but start with one and go from there. If you’re using a Kanger, worst comes to worst you just buy another base and start over (they’re about $2.50) not the end of the world. On other tanks you could potentially screw the pooch altogether and junk the tank…so start with one out of the three or however many you have.

-But don’t I need one of those drill presses I see at my local shop to do this?

No, don’t pay for things you can do yourself. All you need is one of these guys…

image

A standard home drill! Start with a 1/16th bit (usually the smallest found in most sets). This is so you don’t overbore it as mentioned above, if you want bigger you can do so later after trying it out. All you’re going to do is set the tank or clearo down on a work surface (also mentioned above) and use one of the existing holes as a pilot hole. Just stick the bit in and pull the trigger. Let it tap all the way through and pull it out. Pretty hard to screw up unless you’re trying to. Once you’re done, you should have something that looks like the first pic. Throw it on your device and give it a draw…see how that feels. If you want more you can always go bigger. Try it our for a day or so to get a good feel about whether you like it or not. You’ll notice you can take free-er draws and not have as much flooding as before or any at all. Remember that you now have a higher airflow so make sure to adjust your voltage accordingly to compensate. You’ll quickly notice better vapor production.

That’s all there is to it. A quick and easy way to mod your device and improve your vape right at home. If you have any of your own tips and tricks, we’d love to hear them. Once again, thanks for hanging out with My Vape and as always…..Make It Yours 😉

The Simple Way To Not Blow A Hole In Your Face…A My Vape Guide.

image

Kind of a scary sight isn’t it?

In case you can’t tell what it is, that’s a blown up mechanical mod (that’s what’s left of the battery up in the top left). You know, all of those stories you hear about on the internet about someone building some sub ohm coil and blowing up their device…this is the aftermath. Occasionally that aftermath can include some pretty gnar face carnage. Luckily that isn’t pictured here because the original poster on a Reddit thread stated this happened to someone once they set the mod down then it shot across the room. While it couldn’t really be explained why it happened when it was not in use, your best bet is that the user set it down and it continued to fire. So use your lock rings, get a stiffer spring, or upgrade to magnets (make sure you use enough) to make sure that your device doesn’t fire when you set it down.

Alright, so you hear all these horror stories about this happening and it spooks people away sometimes. Don’t let it. Not blowing yourself up when you vape kind of follows the same rules as not blowing yourself up when you do anything else…just use a little bit of common sense. That’s something else you hear all the time…I used to. I also used to think “how can I use common sense if I don’t even know where to start?”. Well, we’ve got you covered on it.

Yes, safety is important and you should know what you’re doing. What you shouldn’t do is let it become an inconvenience and take away from the joy of the activity you’re participating in…in this case, vaping.

So what’s all the fuss about? Why do batteries blow up?…and why are people so worried? Well, people are going to always worry. There’s always those so don’t let it get to you.

There are a few reasons why batteries go “pop”. We’ll keep it simple.

Remember this much if you stop reading here: Your coil is made of resistance wire. That wire does just that, it provides resistance to the electric current you are pushing through it when you fire your device. That resistance is what makes the coil heat up and vaporize your juice. If that coil does not have enough resistance, what it is essentially doing is connecting the positive and negative terminals of your battery and causing a short circuit. When that happens, it’s bad news bears. If you want to get a better idea, bend a paper clip into a “U” shape and stick it into a wall outlet to see what happens……no, we’re kidding, don’t do that but you get the idea.

Your battery discharged too much and you’re trying to pull too much power out of it. How do you avoid that? Easy, monitor your battery to make sure the voltage doesn’t drop too low. When you get around 3.5 volts, swap it out. This is when having multiple batteries comes in handy, just grab a fresh one. How do you know if your battery is too low? Use a multimeter to check it. Do this when you first get rolling on a regular basis as you vape at home. Every so often, take the battery out and check it until you learn to gauge where it is based on your vape habits. Once you learn you can “eyeball” it and know when it’s time to blow the whistle and call for a battery substitute. This holds true for whatever ohm coil you’re running. If you’ve ever used a regulated or “protected” device, it does this for you. If you’ve ever wondered why those devices shut themselves off when you still have voltage in your battery, that’s why…because it’s getting too low to safely pull from the battery.

Alright, got it so far? Good. So what’s the other big reason?…amp draw. This is where the fear of sub ohm builds comes from that you hear everyone talking about. Any battery you have has a safe amp draw limit. Some batteries will have this limit right on them but pay attention when you buy to make sure. The higher this limit the better. Now keep in mind that the relation between your battery charge and the amount of ohms you’re pulling out of if directly affects your amp draw. The combination of ohms and voltage has to be below your battery’s safe amp draw limit.

Now keep in mind that on a regulated device where you can set the voltage you’re firing at, it’s pretty easy to know and not to mention that if you set it incorrectly, the device will fire but it will ignore your settings and fire at the lowest safe setting programmed into it. On a mechanical device, you don’t have such protection because there is no circuitry. This is where knowing your voltage and using that multimeter to learn where about it is at comes into play.

There are a lot of charts and calculators out there to help you out though, so don’t get concerned. Check this one out…super simple and easy to use. You’ll know exactly where you need to be to keep you mug nice and shiny.

image

What you want to do is plug in your voltage (use your multimeter to check your battery charge) then plug the ohm level of your attached device (use your multimeter, resistance checker, or a regulated mod that has the ability to check ohms to find this out). Once you get those two figures filled in, the calculator will spit out your amp draw. If than number is higher than the safe amp draw limit of your battery, you might want to stop and build a higher resistance coil.

You can find that calculator HERE!

…and most importantly, the simplest piece of common sense even if everything else seems to check out fine. If your device starts getting hot at any time, discontinue use immediately, set it somewhere where if it does pop it won’t hurt anything and wait for it to cool down before pulling the battery and diagnosing the problem.

There are more in depth explanations out there but if you’re looking for a quick 411 and want to get started, this should help you not blow your money maker off. If you have any of your own tips, we’d love to hear them!

Booze And Vape…The True Test.

image

When I first picked up an eGo, I was excited that I wouldn’t be smoking. To be honest I was excited that I wouldn’t be spending as much money on cigarettes…that didn’t turn out to be true. Before you know it you’re picking up gear left and right but that’s a topic for another day.

I sat in the store and shot the shit with the guys for about two hours. We talked about gear, juices, nic levels, and I learned the basics. All the while I was sampling flavors at the juice bar. I remember telling the employee that this stuff must work because by now I would have stepped out for a smoke several times. I also mentioned that the true test will be when we head out to the bar. I’d burn through at least a half pack if not more in a night out. I didn’t think this whole vaping thing would cover me for that…I saw it as a novelty and said we’ll cross that bridge when we get to it.

So I picked up my starter kit and headed home. Didn’t smoke for the rest of the day. I was surprised, I never thought it would work. The following day my ego died around 8PM at night and I still had a couple of Marlboros left in my last pack. I lit one up and smoked it. It was awful. I pushed through it and finished the thing but it wasn’t fun, I’ll say that. Again, I was shocked that after just a couple of days a cigarette could be so unpleasant after so many years.

A few days later we went out drinking…my first and foremost hobby. It just goes so well with smoking I didn’t think I could part the two.. I brought my vape and went hard with it. It worked really well. Here’s a few tips on what worked for me if you’re concerned about the same situation.

-Bring a simple long lasting device. The last thing you want is to run out of battery out and about or have to fiddle with a complicated set up to make it work right. I like to pull it out of my pocket, take some rips and get back to business. These days I prefer an MVP2 with a bottom coil clearo. No mess no fuss. A carto would work as well but I personally don’t like them and feel like they’re more work than it’s worth.

-Bring some extra juice. Leave the bottle in the car, your girlfriend’s purse, your pocket, whatever. You’ll notice you suck down a lot more juice when you are drinking than you normally would. I learned this the hard way myself when I found myself smoking a Marlboro because I ran out of juice out and about.

-Speaking of juice, it helps if you have something with a high nicotine content. It doesn’t have to be your daily vape but if you know you like heading out to the bar more than often, it’s not a bad idea to order a 24mg bottle to keep around just for that. A few hits will satisfy you and keep you from constantly sucking on your device burning juice and battery. The heavier throat hit is also much more satisfying when drinking as well..

-A variable voltage/wattage device really helps. It will let you dial in that vape to make your drunk self satisfied. That first time I had that little eGo Twist cranked up to full power all day. It lasted but it wouldn’t have made it much longer, especially if you don’t plan on making it home that night. A device like the MVP or similar is definitely the ticket.

-This last one really comes down to preference and kind of ties in with the first tip. I try to carry a simple device when out. Convenience and no fuss being the main attraction. The second is that I don’t want to wake up the next morning and realize that my mod is lost. One more thing to worry about. Yes it looks cool and it is a conversation piece but in my opinion not worth risking the loss. Also, keep in mind that many bars, clubs, etc…might not allow a device like that in because of its looks and possibility to be used as a weapon. Yes….it sounds dumb but that’s the way things are.

Thanks again for hanging out and for the support. If you have your own stories and tips regarding boozing and vaping, you know we’d love to hear them!